Part 8 of 10
Doing the impossible. That’s what we’re here to do! Since Premiere Pro is from the lovely suite of Adobe’s Creative Cloud, it has many behaviors of its sister programs, like After Effects. Do not get me wrong – Premiere is in no way capable of doing all of the things After Effects can do (and vice versa), but it gives it a good try. So, animating a basic logo in Adobe Premiere is entirely possible.
Text Tool
The basics of our logo will be created using Premiere’s Text Tool. It’s fairly simple and acts a lot like a word processor inside of Premiere. Clicking in the program monitor adds a text cursor in the monitor and a graphic clip to the timeline. After adding some text, we can adjust it to our preference in the effect controls panel. This includes sizing, kerning, colors, shadows, and fonts.
The fonts are pulled from the fonts located on your system, but can include many fonts from your Adobe Creative Cloud Subscription. Follow this guide to activate fonts from Adobe: Using Adobe Fonts in Creative Cloud Apps.
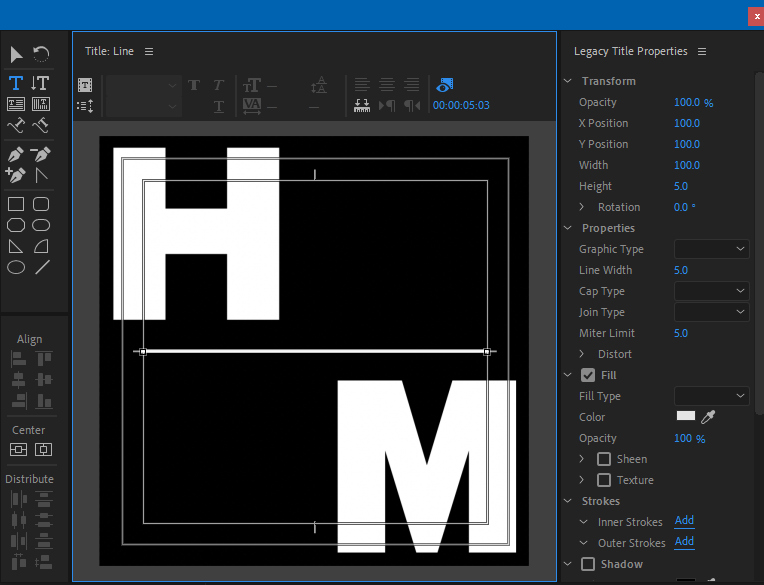
Get in Line
Adding a line graphic within Premiere takes a legacy graphic tool aptly name “Legacy Title”, found in File > New > Legacy Title. After creating the graphic (click “X”), it will be added to your project panel. From there you can add it to the timeline.
Mograph Pants
Animating inside of Premiere works like similar to most other programs, by adding keyframes. Keyframes designate values for the beginning and ending of animations. Easy enough.
Keyframes can also determine the behavior of the animation. Sounds confusing. Swap mograph pants for geometry pants:
Linear Keyframes – Create animation that moves at a constant rate from one keyframe to the next. Think rocket ship: moves in a straight line at constant speed (note: I am not a rocket scientist).
Bezier Keyframes – Allows animation between keyframes to accelerate or decelerate based on the shape of a Bezier curve. Think race car: Moves around a curved track and starts off slow, but then goes fast (note: I am not a race car driver).
Basically using Bezier curves allows us to give our animation a little bit of life and prevent it from looking flat.
Ok, get your mograph pants back on. I’ll wait.
Logo Landing
After creating the animated logo, we’ll add it to our video by dragging the animated logo’s sequence into our coffee promo edit. This creates a nested sequence that we can treat just like it was a video clip. From there we massage the timing and look of the logo until the end result looks classy and modern.
Up next: Part 9 – Polishing and Finishing